| www.belightsoft.com/.../roxioedition.php | Start of Help > Modifying Documents |
(some features require the standard version)
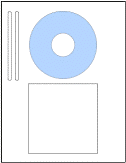
Since specialized label paper differs in the number, position and type of printable elements (disc label, case cover and so on), you must select the exact paper type before printing.
Use the Paper Selection dialog for this, it can be opened using:
When you select a pre-defined paper, all the dimensions and positions of the elements on the page will be set automatically by the program.
Note: For best results, set paper for every design element and later use the same paper in the Print dialog.
ATTENTION! For better flexibility, the program can take paper size from the Paper Selection dialog as well as from the system Page Setup dialog. The last selection will be used for printing.
Normally you should select paper in the Paper Selection dialog. Use the Page Setup only if you know what paper size must be selected!
In the case your paper is not listed in the program, you can create a custom paper layout.
Select the required paper for each of the design elements you are going to print on special paper (for example, if you may use one type of paper for the disc label, and another for the CD cover and tray insert). This is not necessary for printing on plain paper. If your document has several design elements of the same type (two discs labels, for instance), you may use the same type of paper for them. This way you will be able to print both elements on a single sheet.
To select the paper for an existing design element:


To add a new design element that corresponds to a particular type of paper:
Note: Selecting paper in the Print dialog does not affect the document. This selection is only valid during the time of the printing session. See details on the Print Dialog page.
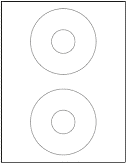 Sample 1 |
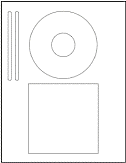 Sample 2 |
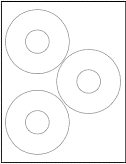 Sample 3 |
 Sample 4 |
It's recommended that you select the paper you will print on at the very beginning, don't wait until the last moment. Though design elements are mostly of similar shape and dimensions, they may differ slightly from paper to paper. So, if you prepared your design for one type of paper, and use another one to print on, your design may get offset by several millimeters in respect to the element on the sheet (if you have changed paper just before printing) and you will have to modify your document again.
If you have not purchased paper yet, it is a good idea to review the list of paper in the Paper Selection dialog in order to buy supported paper.